One thing that Unity Personal Edition users don't get is the Dark theme.
Many want it due to the fact that it looks really cool and clean compared to the Gray skin.
However, there are also many developers who have sight problems or experience eye strain
because of the Gray skin. Especially when working during the night.
There is now a solution for this, thanks to the Author of Unity Themes - Brad Smithee.
It's so easy to fall in love with Unity Themes.
Open Source, Free.
It is such a powerful tool, with a dozen of options for customization, many preset themes, fonts, and styles.
Yet, it's extremely easy to implement to your project.
It's basically a matter of drag and drop at this point.
This guide will show you how to download and implement this tool.
Here's how it looks like with two different themes:
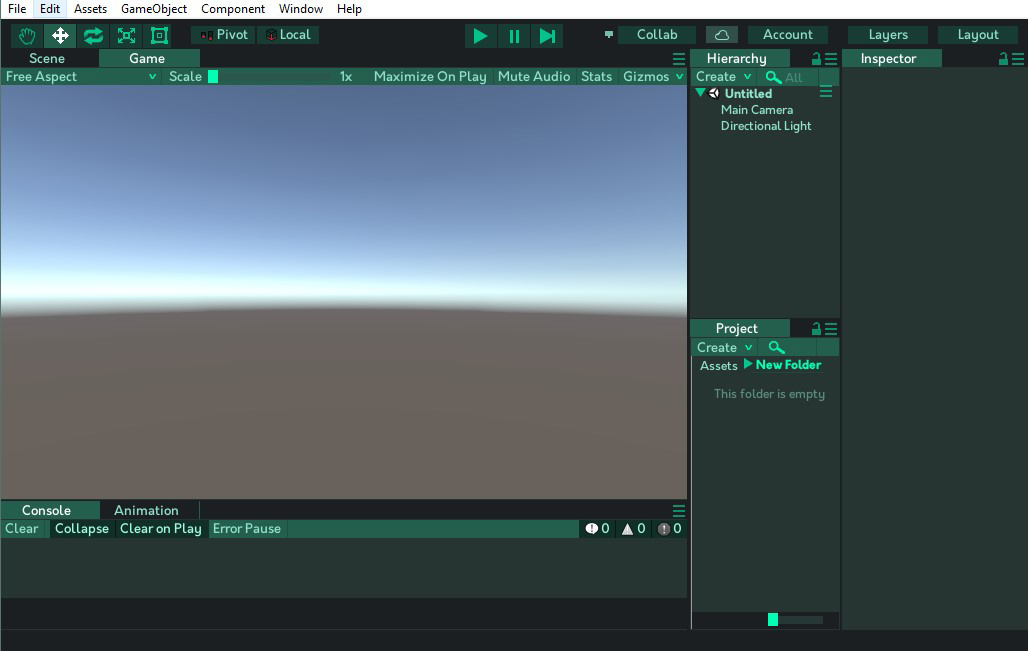
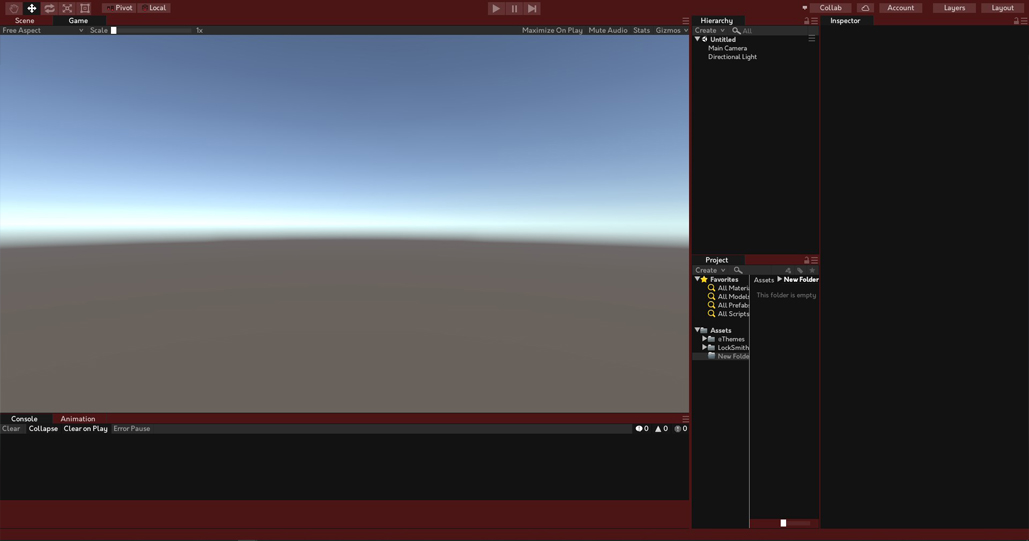
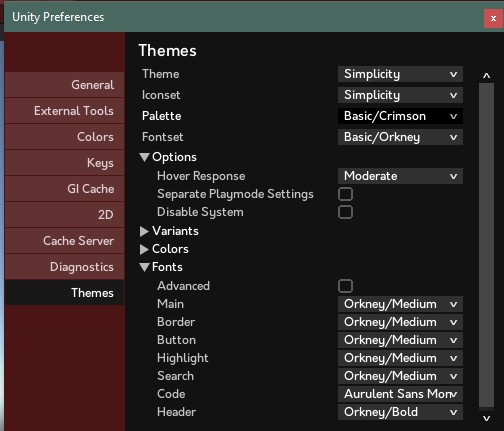
Many customization options are available:
Downloading the Unity Themes
To download the Unity Themes, go to the releases section of the official GitHub page of the project.
In the Downloads part of the page, find and download the correct package.
The last number in the release represents the Unity version. Make sure to download the correct package.
Installing Unity Themes
Once you have downloaded the package, extract the archive.
Then move the folder "@Themes" to the root of your Unity project.
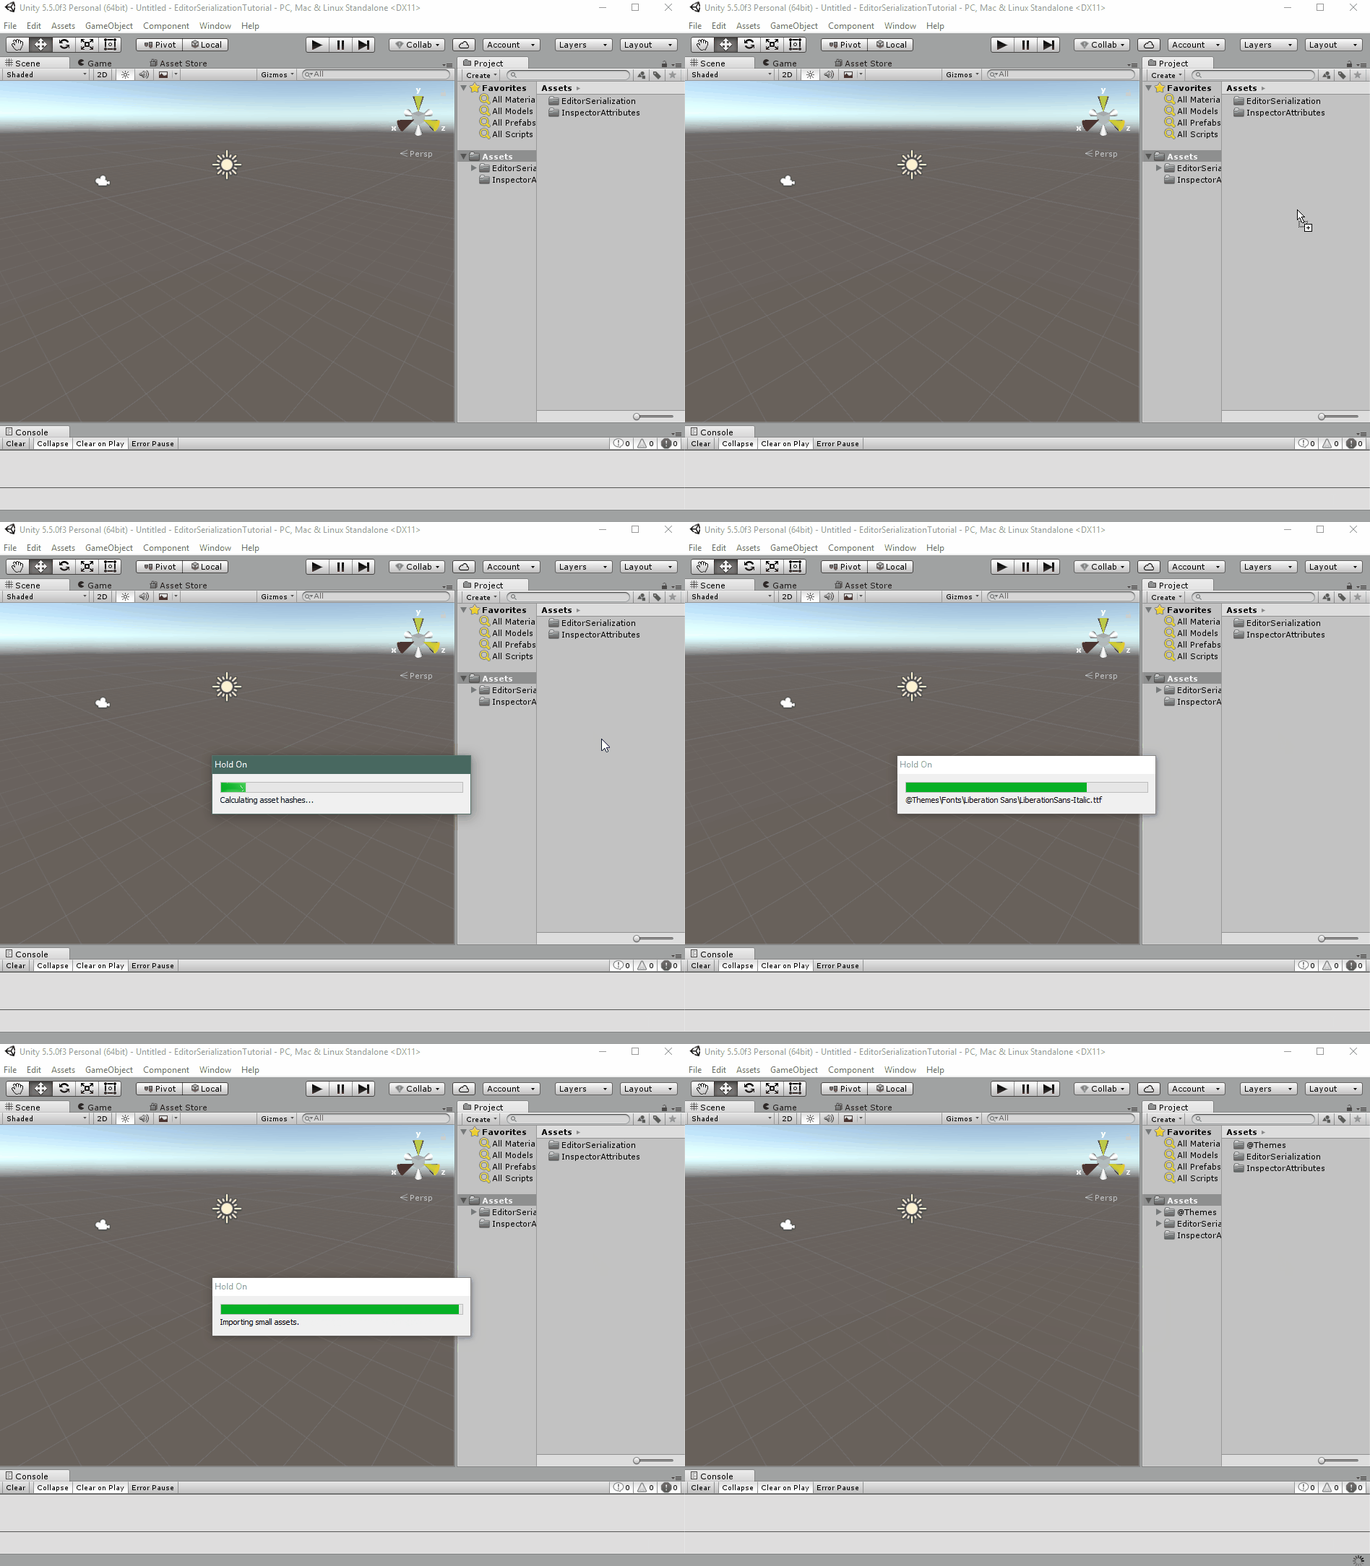
After the loading is done (it can take a while), you'll have to set up the Themes for the first time.
Go to Edit -> Preferenced -> Themes -> Theme : Select "Simplicity" or "Classy".
After that, find your favorite palette or create your own.
You can use shortcuts such as ALT + F2/F1 to Cycle through the Themes.
Here's a quick GIF showing this in action:
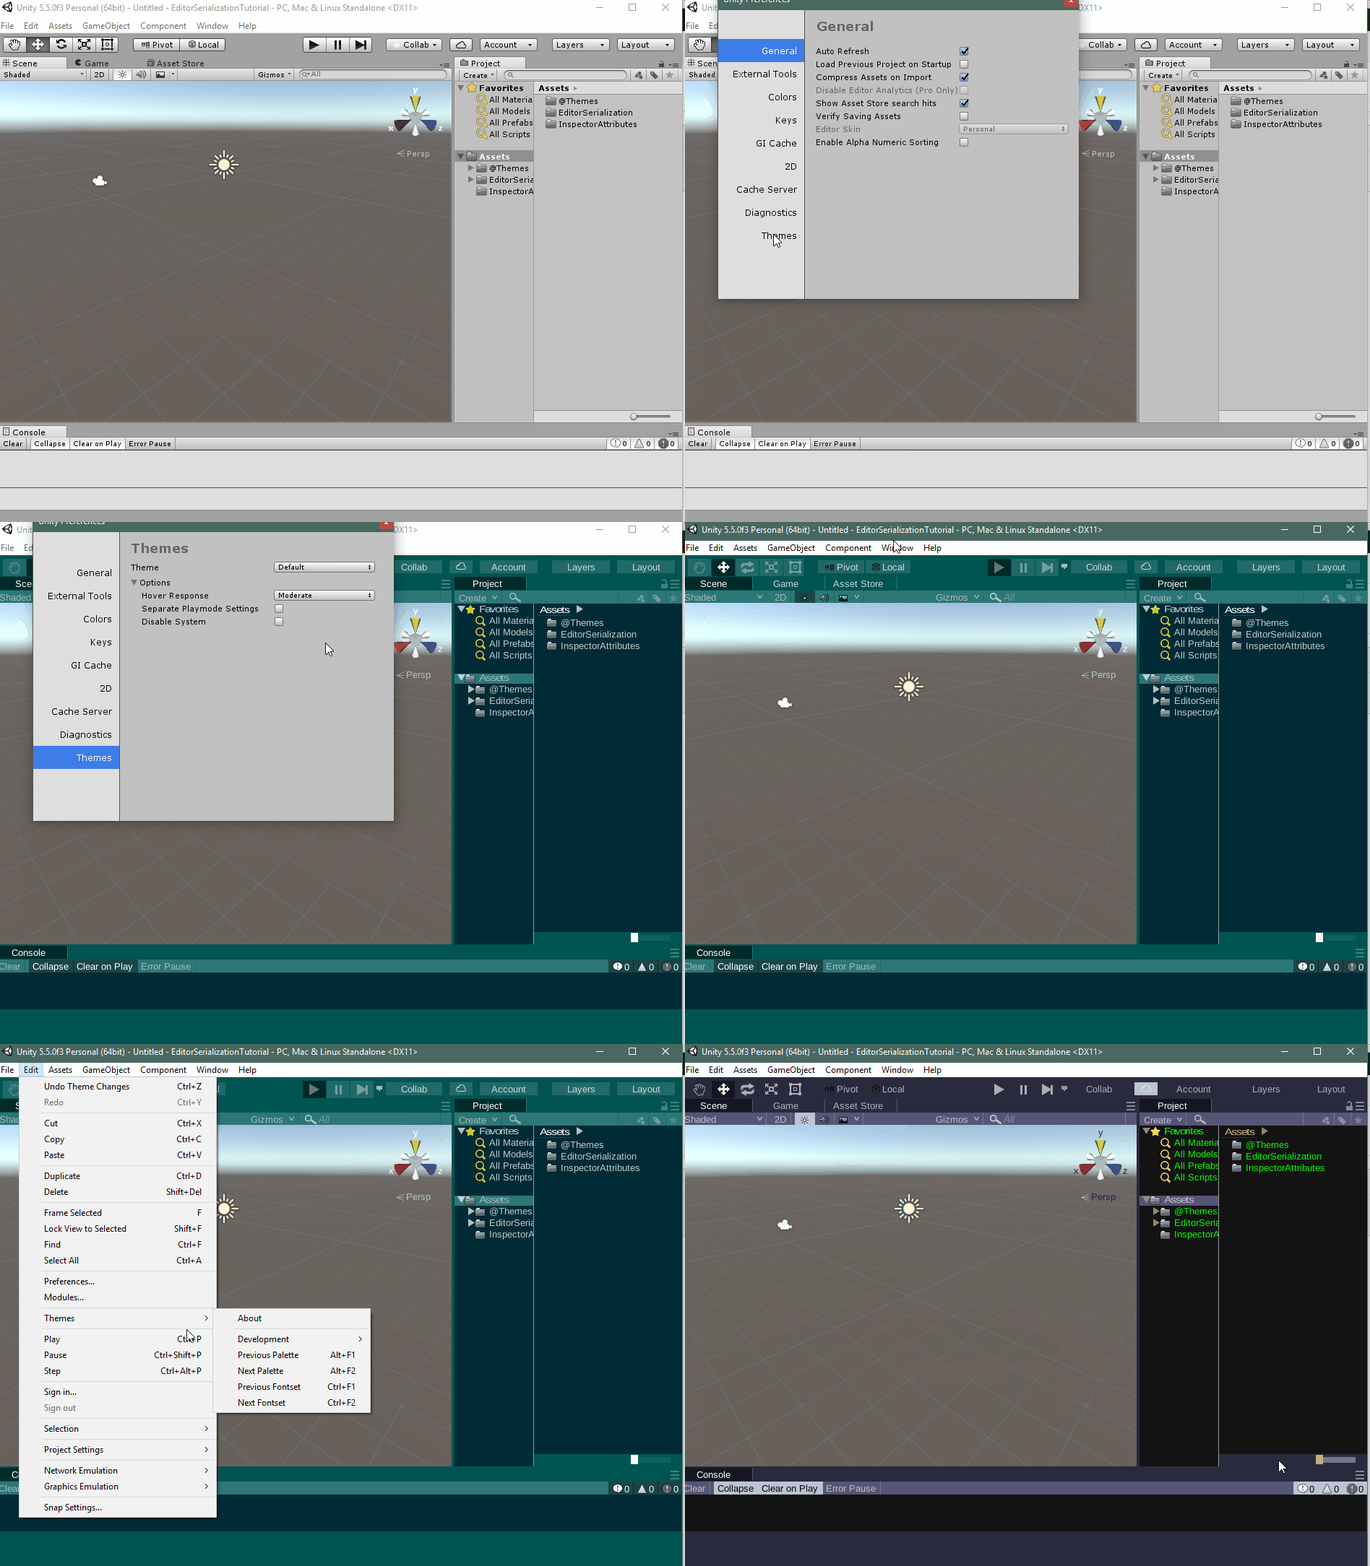
And you're done! As simple as that.
Hopefully you found this guide helpful.
DigitalHamster.


